Building an ADU involves many steps over many months. Understanding the full process before you start helps you plan realistically, anticipate costs at each stage, and avoid common pitfalls that delay projects.
This guide walks through every phase of a typical California ADU project, from initial research to handing over the keys. Timelines are estimates based on typical projects; your actual experience may vary based on jurisdiction, project complexity, and contractor schedules.
Phase 1: Research and Planning (1-2 Months)
Before spending money on design or construction, invest time in understanding what's possible on your property and what you want to accomplish.
Define Your Goals
Why do you want an ADU? Housing a family member has different implications than maximizing rental income. Your goals influence size, design, and budget decisions.
Check Zoning and Regulations
Review your city's ADU ordinance to understand what you can build. Key questions:
- What's the maximum size allowed on your lot?
- What are setback requirements?
- Are there height limits?
- Does your city require owner occupancy?
- Are there any design requirements?
Many cities have ADU information on their websites, or you can call the planning department directly.
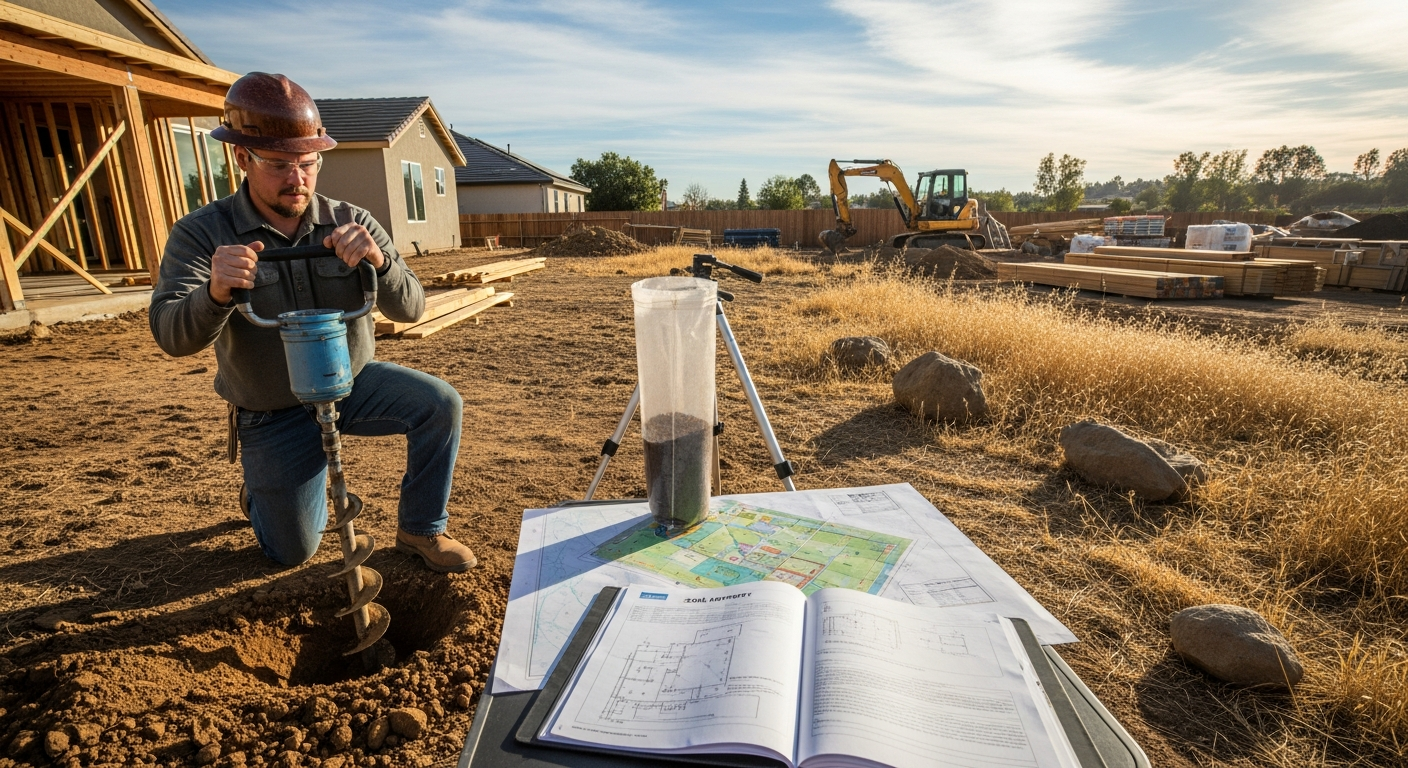
Assess Your Property
Walk your property thinking about ADU placement. Consider access routes, utility connections, impact on your outdoor space, and neighbor relationships. Identify any obvious constraints like trees, slopes, or existing structures.
Establish Budget
Research typical costs for ADUs in your area. Talk to lenders if you'll need financing. Set a realistic budget range that includes contingency for unexpected costs.

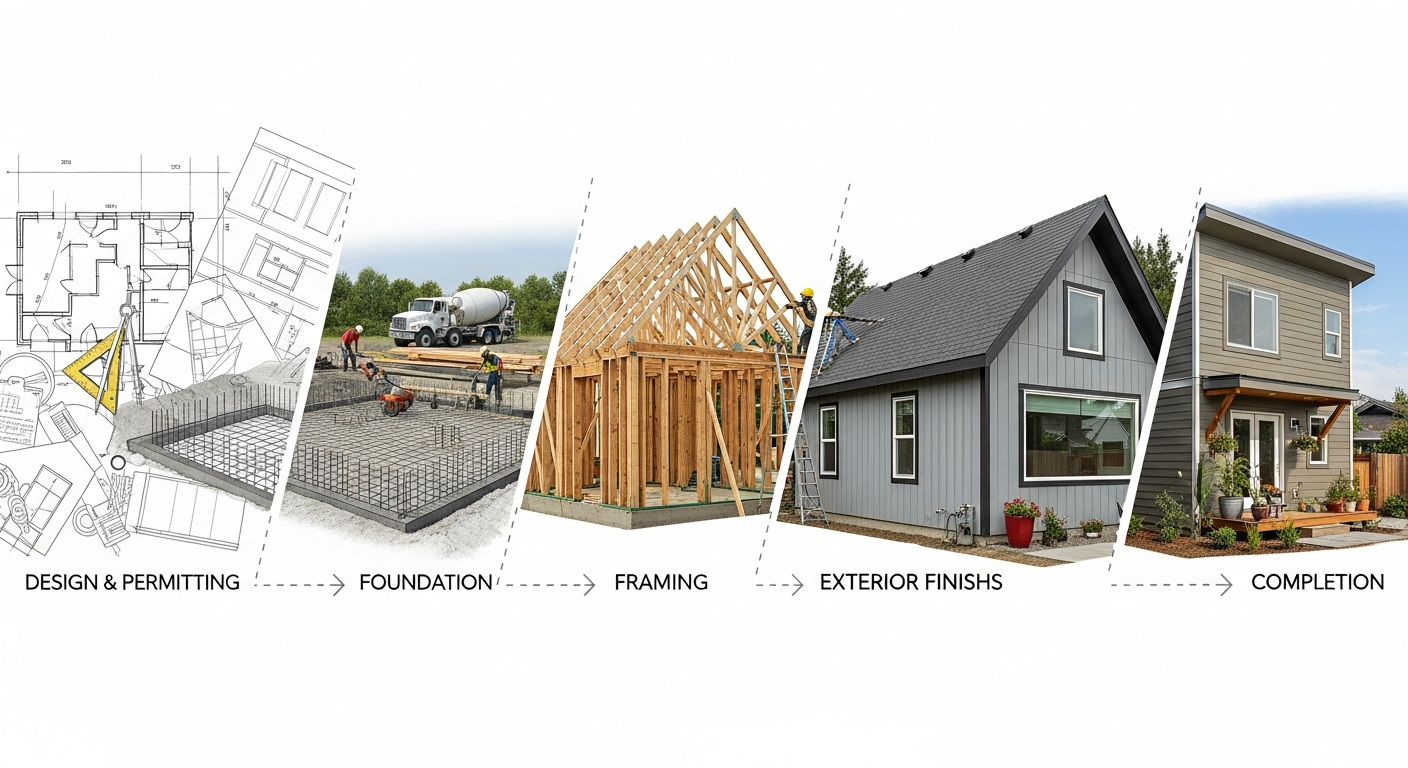
Phase 2: Design and Engineering (2-4 Months)
Hire Design Professionals
For most projects, you'll work with an architect, building designer, or design-build firm. They'll create plans that meet building codes while achieving your vision.
Interview several firms. Review their ADU portfolios. Get references from past clients. Design fees typically run $5,000 to $15,000 depending on project complexity.
Develop Design
Work with your designer to create floor plans, elevations, and exterior designs. This is an iterative process with multiple revisions. Key decisions include:
- Unit size and layout
- Number of bedrooms and bathrooms
- Kitchen configuration
- Exterior materials and style
- Window placement and size
- Entry and outdoor space
Engineering and Technical Documents
Once design is finalized, engineers prepare structural drawings, and technical consultants address energy compliance (Title 24), plumbing, and electrical. If required, this is when you'll get your soil report.
The result is a complete set of permit drawings ready for submittal.
Phase 3: Permitting (1-3 Months)
Permit Application
Submit your plans to the local building department. Include the application form, plan sets, engineering documents, and applicable fees.
California law requires cities to approve compliant ADU applications within 60 days, but actual timelines vary. Some jurisdictions are faster; others take the full 60 days plus time for any requested revisions.
Plan Check Review
Reviewers examine your plans for code compliance. They may request corrections or additional information. Your designer handles these responses, resubmitting as needed until plans are approved.
Permit Issuance
Once approved, you pay remaining permit fees and receive your building permit. Construction can now legally begin.
| Phase | Duration | Typical Costs |
|---|---|---|
| Research and planning | 1-2 months | $0-$1,000 |
| Design and engineering | 2-4 months | $8,000-$20,000 |
| Permitting | 1-3 months | $5,000-$15,000 |
| Construction | 4-8 months | $120,000-$350,000 |
Phase 4: Contractor Selection (1-2 Months)
Ideally, you've been talking with contractors during earlier phases, but now it's time to finalize your builder selection.
Get Bids
Invite 3 to 5 contractors to bid on your project. Provide complete plan sets so bids are based on the same information. Expect bids to vary by 10% to 20% even with identical plans.
Evaluate Proposals
Don't just pick the lowest price. Consider:
- Experience with ADU projects
- References from past clients
- License status and insurance
- Communication style and responsiveness
- Timeline and scheduling
- Payment terms and contract clarity
Sign Contract
Review the contract carefully before signing. Ensure it specifies scope, timeline, payment schedule, change order process, and warranty terms.
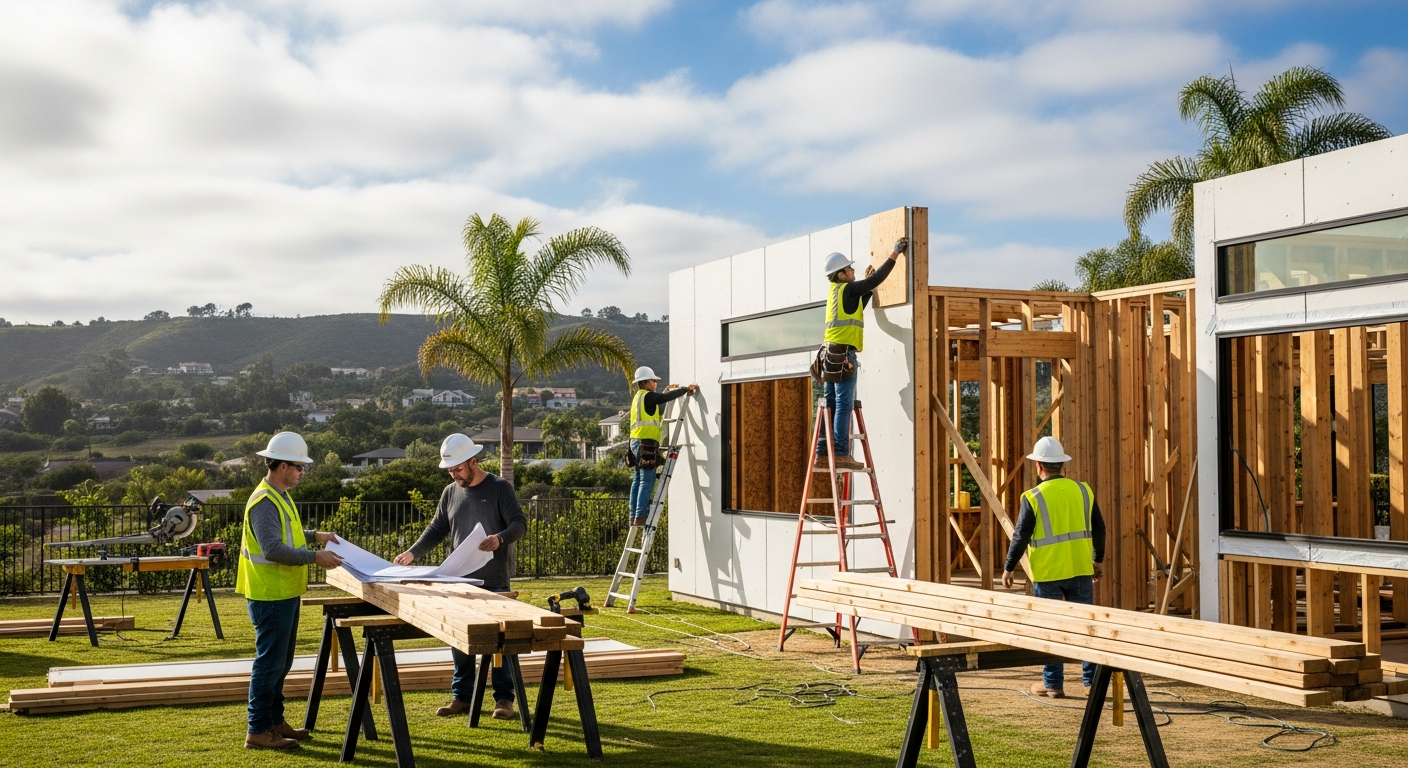
Phase 5: Construction (4-8 Months)
With permits in hand and contractor selected, construction begins.
Site Preparation
Clear the building area. Set up temporary fencing and protection for trees or landscaping. Bring in utilities if needed. For detached ADUs, this typically takes 1 to 2 weeks.
Foundation
Excavate and pour footings, then the slab. The foundation must pass inspection before framing begins. Allow 2 to 3 weeks for foundation work, longer if soil conditions are challenging.
Framing
Walls go up, followed by roof framing. The ADU takes recognizable shape during this phase. Framing typically takes 2 to 4 weeks and concludes with the sheathing inspection.
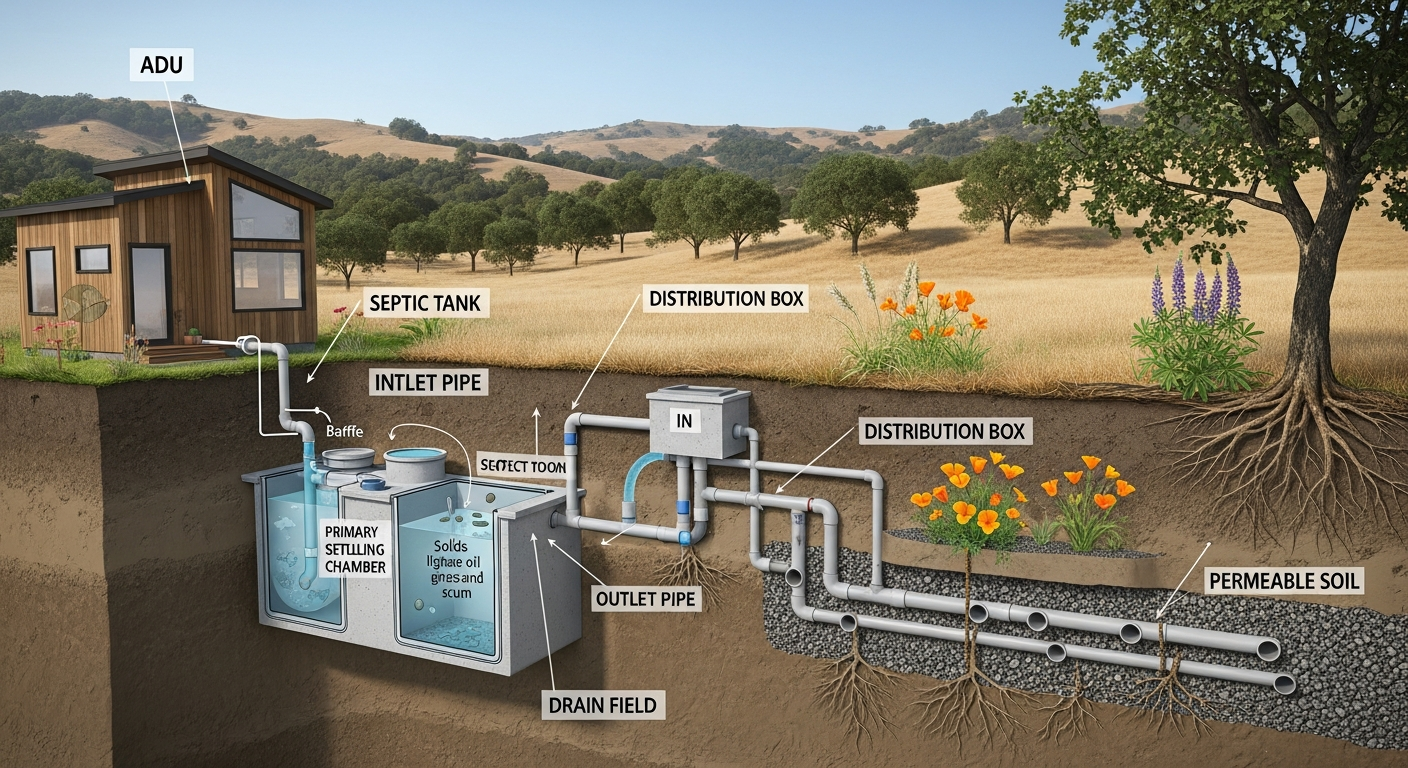
Rough Mechanical
Plumbers, electricians, and HVAC contractors install systems inside the walls before drywall covers everything. This phase includes rough inspection to verify proper installation. Allow 2 to 3 weeks.
Insulation and Drywall
Insulation goes in after rough mechanical passes inspection. Then drywall is hung, taped, and finished. This takes 2 to 3 weeks.
Finishes
Cabinets, counters, flooring, paint, tile, fixtures, appliances. This is when the ADU becomes a finished living space. Finish work typically takes 4 to 6 weeks.
Final Inspections
Building inspectors verify all work meets code. Any issues must be corrected before final approval is granted.
Certificate of Occupancy
Once all inspections pass, the city issues a certificate of occupancy. Your ADU is now legal to occupy.

Phase 6: Finishing Touches (1-2 Weeks)
Punch List
Walk through the completed ADU with your contractor. Note any items that need correction or completion. The contractor addresses these before final payment.
Landscaping
Restore landscaping disturbed during construction. Add new plantings, pathways, and outdoor amenities.
Move-In Preparation
Set up utilities in tenant's name if applicable. Clean the space. Install window coverings. Furnish or stage if you're renting.
Ready to Start Your ADU Journey?
We guide homeowners through every phase of the ADU process, from initial planning to final inspection.
Call us at (323) 591-3717 or schedule a free consultation to take the first step.
Total Timeline
Adding up all phases, a typical ADU project takes 10 to 18 months from initial planning to move-in. The range is wide because every project is different.
Factors that extend timelines:
- Complex designs requiring more revision cycles
- Slow permitting jurisdictions
- Contractor availability in busy markets
- Site challenges requiring extra work
- Weather delays during construction
- Change orders during construction
Factors that compress timelines:
- Simple, straightforward designs
- Jurisdictions with streamlined ADU permitting
- Contractors with ADU experience and availability
- Easy site conditions
- Disciplined decision-making with few changes
Set realistic expectations from the start, and you'll be less frustrated by the inevitable bumps along the way. The end result, a complete new living space on your property, is worth the journey.
Sources cited:
- California Department of Housing and Community Development. (2023). "ADU Handbook."
- National Association of Home Builders. (2023). "Construction Timeline Survey."