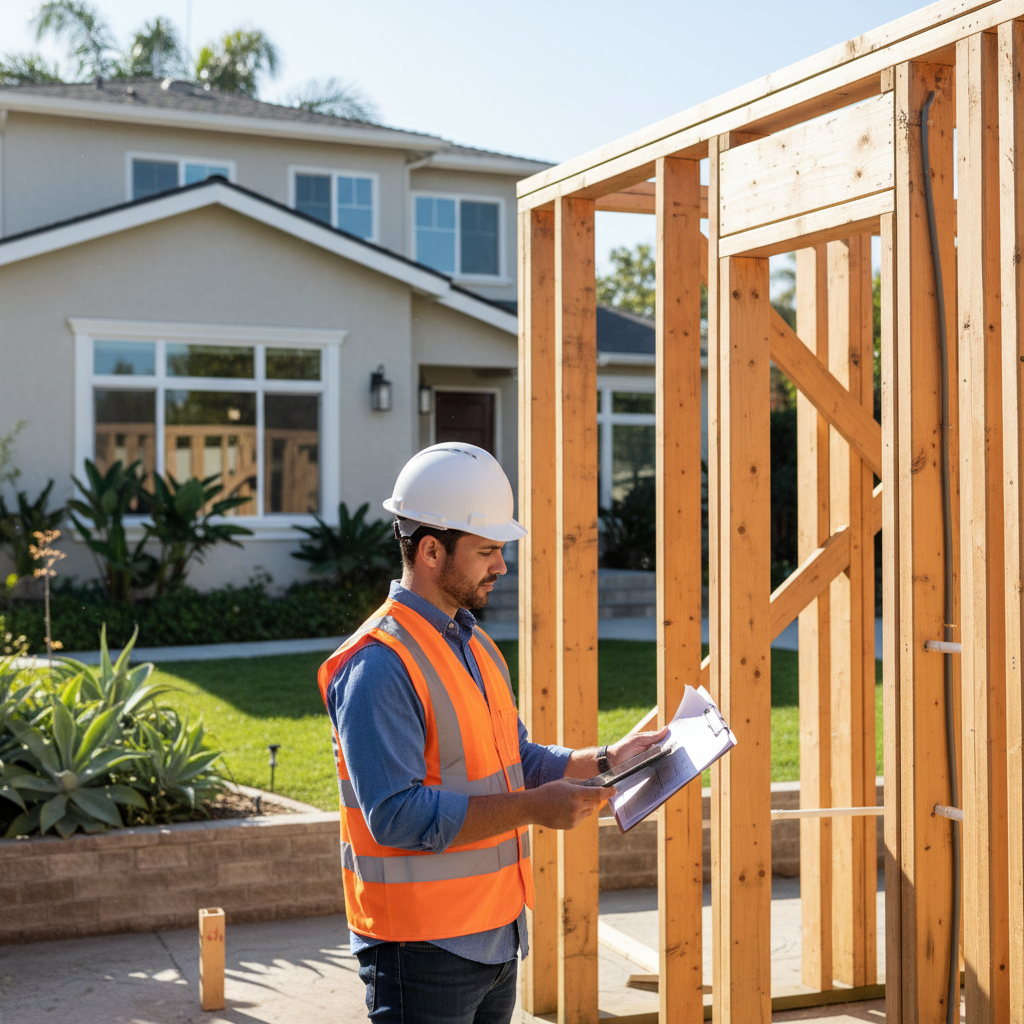

Building an Accessory Dwelling Unit (ADU) in California is an exciting journey, transforming your property and adding significant value. But before you can envision your new backyard home complete with paint and finishes, a crucial stage in the construction process takes center stage: the rough inspection. This isn't just a bureaucratic hurdle; it's a vital quality control step that ensures your ADU is built safely, structurally sound, and in full compliance with local building codes.
For many homeowners, understanding what gets checked at a rough inspection can feel overwhelming. After all, it involves peering into the bones of your future home – the exposed framing, plumbing, electrical wiring, and HVAC ductwork – before these essential systems are concealed forever behind drywall. Skipping this critical step, or failing to pass it, can lead to costly delays, dangerous structural issues, and even rejection of your occupancy permit.
At GatherADU, we believe in empowering California homeowners with knowledge. This comprehensive guide will walk you through the specifics of the ADU rough inspection checklist, highlighting why this stage is so important before those walls close up, and how partnering with experienced professionals can ensure a smooth, successful build.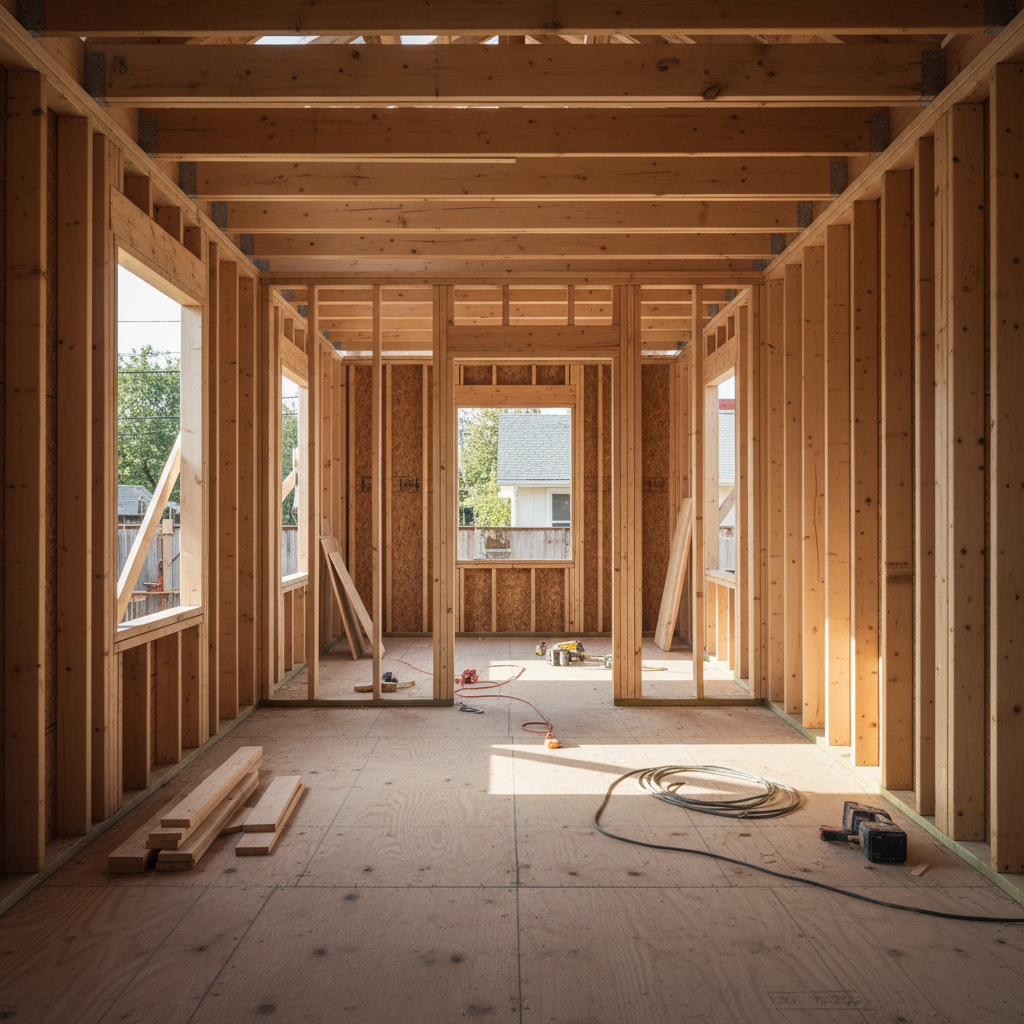
What Exactly is a Rough Inspection?
A rough inspection, sometimes called a 'pre-drywall inspection,' is a series of mandatory inspections performed by your local building department. It occurs after the structural framework of your ADU is complete, and all major mechanical, electrical, and plumbing (MEP) systems have been installed, but crucially, before any insulation, drywall, or finishes are applied. This allows the inspector to visually verify that all hidden components meet the approved plans and comply with the latest building codes.
Think of it as an X-ray of your ADU. It's the last chance to spot and rectify any issues with the critical infrastructure that will soon be covered up. Once the walls are closed, fixing a wrongly run pipe or an incorrectly wired circuit becomes a significantly more complex and expensive undertaking.
The ADU Rough Inspection Checklist: Key Areas Examined
While specific requirements can vary slightly by jurisdiction within California, a typical ADU rough inspection will thoroughly examine several key areas:
Rough Framing Inspection
This is the backbone of your ADU. The framing inspection ensures the structural integrity and stability of the building. Inspectors will look for:
- Structural Members: Correct sizing, spacing, and installation of studs, joists, rafters, beams, and headers as per engineered plans.
- Shear Walls and Bracing: Proper installation of plywood or OSB shear panels, hold-downs, and other seismic bracing elements crucial for earthquake resilience in California.
- Fire Blocking: Correct placement of fire-blocking materials within wall cavities to prevent the spread of fire.
- Openings: Proper framing around windows, doors, and other openings to ensure structural support.
- Fasteners and Connectors: Use of appropriate nails, screws, and hurricane ties where required.
Rough Plumbing Inspection
Before any water flows, the plumbing system must be meticulously checked. This inspection covers all water supply, drainage, waste, and vent (DWV) lines:
- Pipe Sizing and Materials: Verification that correct pipe sizes and approved materials (e.g., PEX, copper, PVC) are used according to code and plans.
- Connections and Joints: Ensuring all connections are secure, leak-free, and properly sealed.
- Pressure Test: Often, the plumbing system will be pressurized with air or water to detect any leaks before walls are closed.
- Drainage and Venting: Proper slope for drain lines, correct installation of traps, and adequate venting to prevent sewer gas entry and ensure efficient drainage.
Rough Electrical Inspection
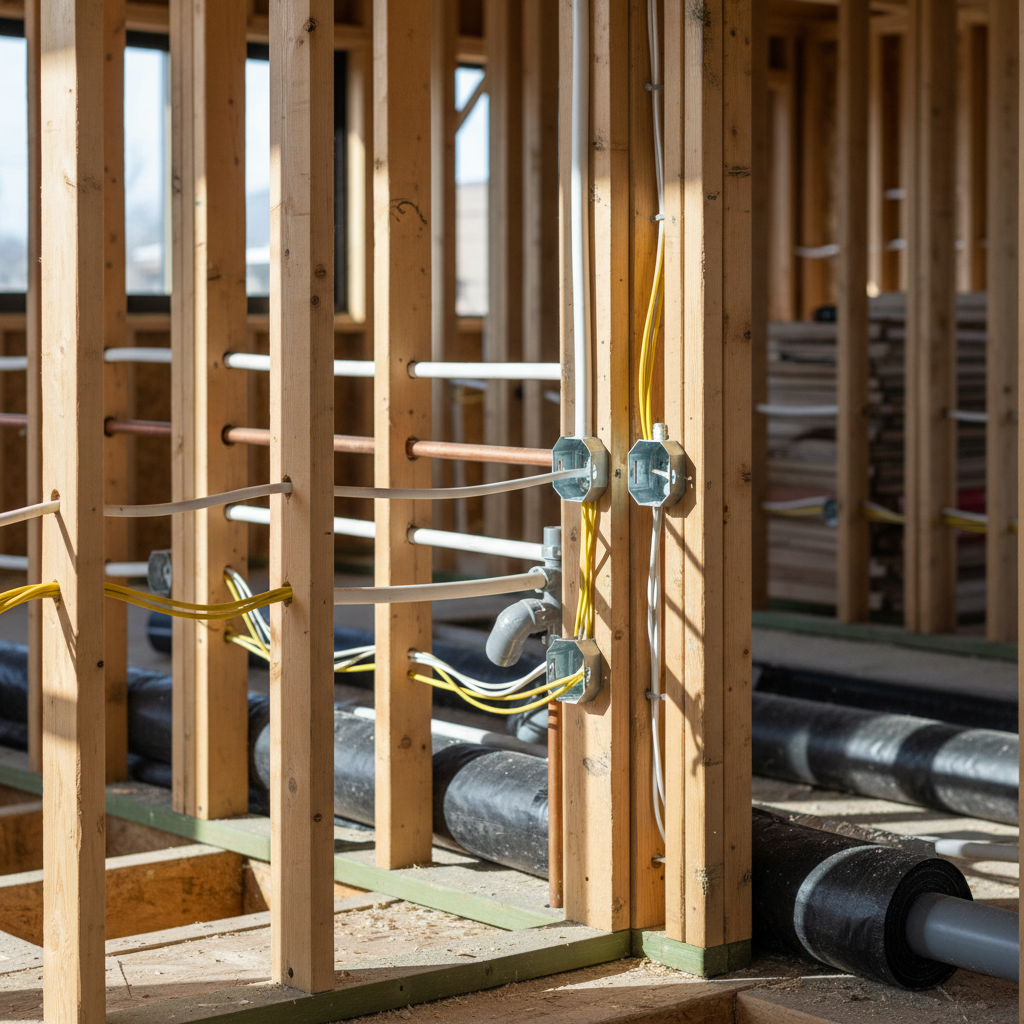
Electrical safety is paramount. The rough electrical inspection verifies that all wiring and components are installed correctly to prevent fire hazards and ensure proper function:
- Wiring: Correct type, gauge, and installation of electrical wiring, including proper stapling and protection.
- Junction Boxes: All junction boxes must be properly installed, accessible, and correctly sized for the number of wires they contain.
- Panel Location: Verification of the main electrical panel and sub-panel locations, clearances, and proper grounding.
- Conduit and Protection: Proper use of conduit where required and protection of wires passing through framing members.
- Receptacle and Switch Boxes: Correct placement and secure mounting of all electrical boxes for outlets and switches.
Rough HVAC Inspection
Heating, Ventilation, and Air Conditioning (HVAC) systems are crucial for comfort and air quality. The HVAC rough inspection ensures these systems are installed efficiently and safely:
- Ductwork: Proper sizing, sealing, insulation, and routing of all supply and return air ducts to ensure efficient airflow and prevent energy loss.
- Vents and Registers: Correct placement and secure installation of all vents and registers.
- Unit Placement: Verification of the indoor and outdoor unit locations and proper clearances.
- Condensate Lines: Correct installation and slope of condensate drain lines from AC units.
Navigating these intricate inspections can be daunting, but with GatherADU, you're never alone. Get expert guidance for your ADU project.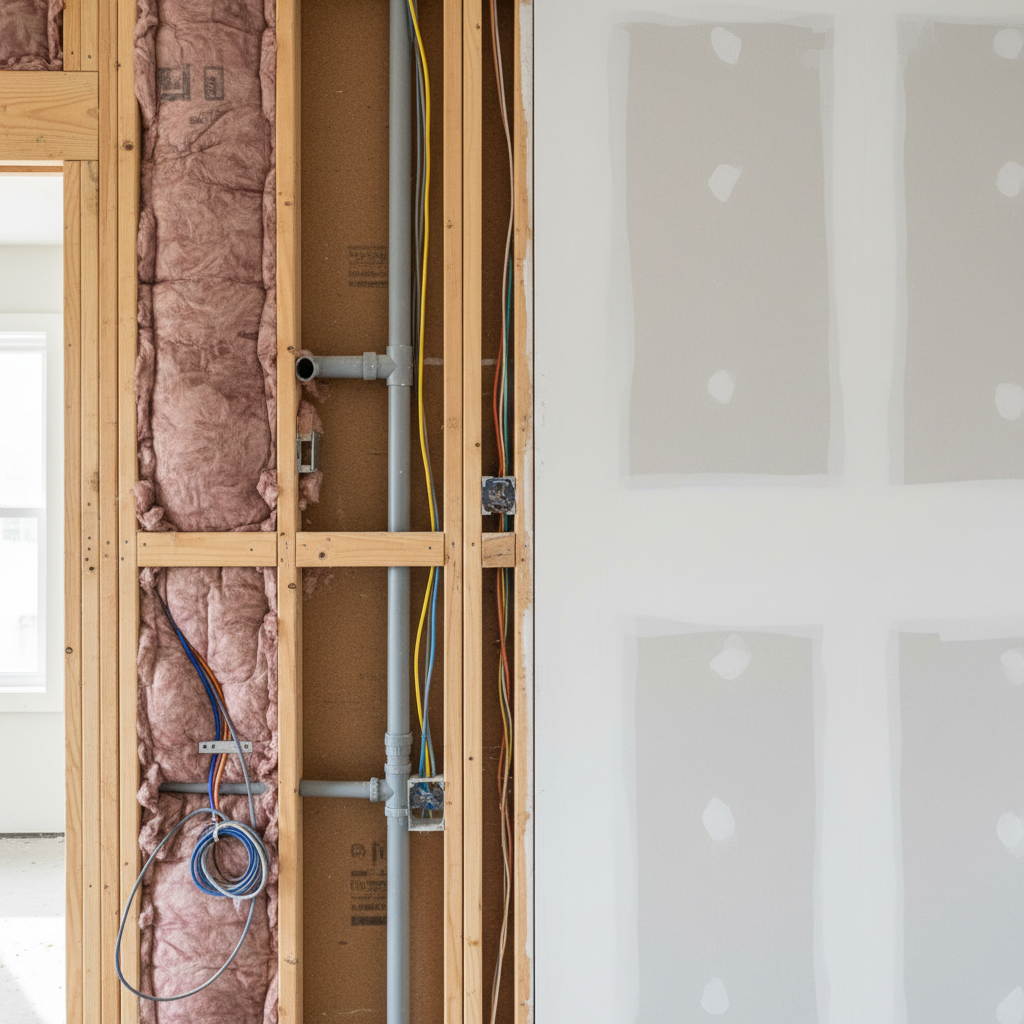
Why This Matters So Much Before Walls Close Up
The importance of passing your ADU rough inspection cannot be overstated. Here's why this stage is absolutely critical:
1. Safety First
This is the primary reason for inspections. Faulty wiring can cause fires, incorrect framing can lead to structural collapse, and improper plumbing can result in water damage and health hazards (like mold). The rough inspection is your safeguard against these potentially catastrophic issues.
2. Avoiding Costly Rework and Delays
Imagine finding out after the drywall is up and painted that an electrical wire is improperly routed or a plumbing pipe has a slow leak. Rectifying such issues would involve tearing down finished walls, adding significant time and expense to your project. The rough inspection catches these problems when they are easiest and cheapest to fix.
3. Ensuring Code Compliance
Building codes are in place to ensure minimum standards of health, safety, and welfare. Failing to meet these codes means your ADU will not be approved for occupancy, making it illegal to live in or rent out. The rough inspection is a checkpoint for code compliance before it's too late.
4. Protecting Your Investment and Resale Value
A properly inspected and permitted ADU adds significant value to your property. Buyers are increasingly sophisticated and will often request proof of permits and inspections. An ADU with a clear paper trail of successful inspections assures future owners of its quality and legality, maximizing your return on investment.
5. Peace of Mind
Knowing that certified professionals have thoroughly checked the hidden systems of your ADU provides invaluable peace of mind. You can rest assured that your new space is safe, sound, and built to last.
Preparing for a Smooth Rough Inspection
While your contractor is primarily responsible for ensuring the ADU is ready for inspection, understanding the process can help you be a more informed homeowner:
- Work with Licensed, Experienced Contractors: A reputable ADU builder like GatherADU understands all local codes and inspection requirements, minimizing the chances of failure.
- Ensure Plans are On-Site: The approved plans must be available for the inspector to reference.
- Clear Access: Make sure the site is clean and all areas needing inspection are easily accessible.
- Contractor Presence: Typically, your contractor or their designated representative will be present during the inspection to answer any questions the inspector may have.
- Address Corrections Promptly: If the inspector notes any deficiencies, they must be corrected and re-inspected before work can proceed.
Ready to start your ADU journey with confidence, knowing every inspection will be handled meticulously? Schedule a free ADU consultation today.

GatherADU's Commitment to Quality Inspections
At GatherADU, we pride ourselves on a meticulous construction process that anticipates and exceeds inspection requirements. Our experienced team works with licensed professionals who are experts in California building codes. We manage the entire inspection process, from scheduling to ensuring every detail is up to code, giving you confidence and minimizing stress. Our goal is to ensure your ADU passes every inspection the first time, keeping your project on track and within budget.
A rough-inspection coordination and correction record for your ADU
An inspection request, a site visit, and an approved result are different events. A homeowner can help keep those distinctions visible without taking over the inspector’s or contractor’s job. An optional coordination record connects the request, the authority’s response, and any follow-up documents. It is a communication aid, not an inspection checklist, approval certificate, or substitute for the applicable permit conditions.
Separate the request from the recorded outcome
Start with the inspection type requested, the relevant permit reference, the request date, and the person who submitted it. Keep the booking confirmation or reference if one is provided. A calendar entry tells you what was arranged; it does not establish that the inspection occurred or that work passed. If the appointment changes, retain the earlier request and identify the replacement rather than silently overwriting it.
Record the authority’s actual outcome wording. Typical labels might include pass, corrections required, fail, or reinspection needed, but departments use different systems and terminology. Do not translate a message such as “inspection completed” into “approved” without checking the recorded result. Where an entry is unclear, note the question and ask the appropriate department contact or responsible project party to clarify its meaning and scope.
Keep the applicable plans and local procedures together
Identify the approved drawing set and associated permit documents that the inspection concerns. Keep the required documents available on site under your building department’s procedures. Record the sheet numbers and revision identifiers you actually have, and ask the responsible party to resolve missing or conflicting versions. A newer design proposal is not automatically the approved set, and an informal sketch should not silently replace an approved detail.
Permit Sonoma’s CNI-004 Building Inspection Procedures provides an example of a local California procedure. It says work remains accessible and exposed until approved, the property owner or agent calls for required inspections, and corrections must be completed and that portion approved before concealment. It also calls for approved construction plans and associated documents on site and describes electronic recording of results. This is a Sonoma example, not a statement that every jurisdiction uses identical procedures.
Jurisdictions vary. Follow your own city or county building department’s inspection procedures and the conditions attached to your permit. Ask which portions are being inspected and what recorded approval permits those portions to be covered. Keep framing, rough plumbing, rough electrical, and rough HVAC from being concealed until the applicable portion is approved for covering. This is a coordination boundary, not permission for homeowners to inspect, test, repair, or uncover systems themselves.
Give each correction a clear reference and responder
Preserve the correction notice exactly as received. For each listed item, add a stable reference in your coordination record and connect it to the notice, affected location, applicable plan sheet or specification, and revision. Keep the authority’s wording separate from your summary. If a notice does not identify a drawing reference, record that as a question rather than guessing which detail applies.
Ask the team to identify the trade or party responsible for responding and any design clarification needed. A homeowner’s concern about an item does not establish its technical cause or the required remedy. Keep the proposed response, relevant professional clarification, and later inspection result connected to the same reference. If the response involves a changed detail, ask who checks its relationship to the approved documents and whether further review is needed.
Confirm scheduling and communication responsibilities
Discuss who requests the inspection, who confirms site access, who will be present when required, and who receives and circulates the result. Identify the permit holder, contractor, and any owner-builder role as they actually apply to your project. Do not assume that the person receiving a text message also has responsibility for arranging the next inspection or authorizing changed work. Put unanswered responsibility questions in the record.
The CSLB’s Owner-Builder Responsibilities explains that signing a building permit application as an owner-builder means assuming responsibility for the project, which must pass codes and building inspections. That is the limited point cited here. A shared coordination record does not transfer that responsibility or determine everyone’s contractual duties. Confirm the actual arrangements with the appropriate parties and seek qualified advice where obligations are unclear.
Retain the result before moving to the next stage
Keep the signed or electronic inspection result, correction list, submitted responses, and any reinspection clearance together. A contractor’s report that a correction is complete is useful information, but it is not the same document as the authority’s approval. Record both without merging their meanings. If only part of the work is approved, preserve that limitation and ask what remains outstanding before the next covering activity is arranged.
A simple final review of the record can identify missing paperwork: the original request, the applicable plan reference, the authority’s result, each correction response, and the follow-up outcome. This review concerns documentation, not technical acceptance. Do not promise a first-pass result, infer approval from silence, or use photographs as a substitute for the required inspection decision. Safety concerns belong with the appropriate qualified provider or emergency guidance, not an ordinary paperwork queue.
Later, keep inspection corrections distinct from the unfinished-work questions described in the ADU punch-list guide. Carry the authority’s records into the project file used during ADU closeout and handover, preserving unresolved questions and original responses. Neither a tidy file nor a completed coordination entry establishes contractual acceptance, warranty coverage, or payment rights.
Source scope for this added workflow: Permit Sonoma is cited only as a local procedural example; CSLB is cited only for the owner-builder responsibility point above. These sources support this added workflow, not a new verification or rewriting of the existing article’s statements. Your own authority’s procedures and permit conditions remain the relevant project-specific reference.
Conclusion
The rough inspection is an indispensable milestone in your ADU construction. It’s the critical juncture where the hidden elements of your home are scrutinized, ensuring that the structural integrity, safety, and functionality of your ADU are beyond reproach. Understanding what gets checked at a rough inspection empowers you as a homeowner and underscores the importance of this stage before your walls close up, protecting your investment and guaranteeing a safe, compliant, and comfortable backyard home.
Don't leave the success of your ADU to chance. Partner with GatherADU, California's trusted ADU experts, to ensure your project is built safely, correctly, and to the highest standards, passing every inspection with flying colors. Book your free ADU consultation now and take the first step towards your dream backyard home.