In recent years, the concept of Accessory Dwelling Units (ADUs) has gained significant traction as a practical and innovative housing solution. ADUs, also known as backyard cottages, granny flats, or in-law suites, offer homeowners the opportunity to expand their living space or generate rental income on their property. One popular option for creating an ADU is through the use of ADU kits. These kits provide a convenient and cost-effective way to add a secondary dwelling unit to your property.
In this comprehensive guide to Accessory Dwelling Unit kits, we will explore everything you need to know about choosing, assembling, maintaining, and cost considerations of these prefabricated structures. Whether you are looking to create a space for aging parents, adult children, guests, or rental income, ADU kits offer a versatile and customizable solution. Join us as we delve into the world of ADU kits and discover how they can transform your property into a multifunctional and value-added space.
Understanding Accessory Dwelling Unit (ADU) Kits: An Introduction
Accessory Dwelling Unit (ADU) kits have revolutionized the way homeowners approach expanding their living space. These kits provide a convenient and efficient solution for adding a secondary dwelling unit to your property without the need for extensive construction or architectural expertise. In this section, we will delve into the basics of ADU kits, exploring what they are, how they work, and the benefits they offer.
What are Accessory Dwelling Unit (ADU) Kits?
ADU kits are prefabricated structures that come with all the necessary components and materials needed to assemble a secondary dwelling unit on your property. These kits typically include pre-cut and pre-measured building materials, fixtures, fittings, and detailed instructions for assembly. They are designed to be user-friendly and can be customized to suit individual preferences and needs.
How Do ADU Kits Work?
ADU kits are designed to simplify the process of adding a secondary dwelling unit to your property. They eliminate the need for extensive architectural planning and reduce construction time and costs. These kits are often available in various designs and sizes, allowing homeowners to choose the one that best fits their requirements. Once the kit is purchased, homeowners can follow step-by-step instructions to assemble the ADU on their property.
The Benefits of ADU Kits
ADU kits offer several advantages over traditional construction methods when it comes to adding a secondary dwelling unit to your property. Some of the key benefits include:
1. Cost-Effective: ADU kits are generally more affordable than hiring contractors for a custom-built ADU. They eliminate the need for architectural plans and reduce construction time and labor costs.
2. Time-Saving: ADU kits are designed to streamline the construction process, allowing homeowners to have their ADU up and running in a shorter timeframe compared to traditional construction.
3. Customizable: ADU kits offer flexibility in terms of design and layout. Homeowners can choose from a range of options to customize their ADU according to their preferences and needs.
4. Versatility: ADU kits can serve a variety of purposes, from providing additional living space for family members to generating rental income. They can be used as guest houses, home offices, art studios, or even as a source of passive income.
5. Ease of Assembly: ADU kits come with detailed instructions and pre-cut materials, making them accessible to individuals with basic DIY skills. Homeowners can take pride in assembling their own ADU with minimal hassle.
Understanding the basics of ADU kits sets the stage for exploring the various factors involved in choosing the right kit for your specific needs and preferences. In the next section, we will delve into the process of selecting an ADU kit that suits your requirements, considering factors such as size, design, and local building codes and regulations.
How to Choose the Right ADU Kit
Choosing the right ADU kit is a crucial step in the process of adding a secondary dwelling unit to your property. With a wide range of options available, it's important to consider factors such as your needs, preferences, budget, and local building codes and regulations. In this section, we will guide you through the process of selecting the perfect ADU kit for your specific requirements.
Determining Your Needs and Preferences
Before diving into the world of ADU kits, it's essential to clearly define your needs and preferences. Consider the following questions:
1. Purpose: How do you plan to use the ADU? Will it serve as a living space for family members, a rental unit, a home office, or something else?
2. Size: How much space do you require for the ADU? Consider the number of bedrooms, bathrooms, and common areas you need.
3. Design: What architectural style and design elements appeal to you? Do you prefer a modern, traditional, or rustic aesthetic?
4. Features: Are there specific features or amenities you'd like to include in your ADU, such as a kitchenette, laundry facilities, or outdoor living space?
By clearly defining your needs and preferences, you can narrow down your options and focus on finding an ADU kit that aligns with your vision.
Comparing Different Types of ADU Kits
Once you have a clear understanding of your needs, it's time to explore the different types of ADU kits available in the market. Some popular options include:
1. Modular ADU Kits: These kits consist of pre-built modules that are manufactured off-site and then transported to your property for assembly. Modular kits offer a faster construction process and can be easily customized.
2. Panelized ADU Kits: These kits feature pre-cut building panels that are assembled on-site. Panelized kits offer flexibility in terms of design and allow for easier customization.
3. Prefabricated ADU Kits: These kits include pre-built components and materials that are assembled on-site. Prefabricated kits offer a balance between convenience and customization options.
4. DIY ADU Kits: For those who enjoy a hands-on approach, DIY ADU kits provide all the necessary materials and instructions for you to build your ADU from scratch. These kits require more time and effort but offer maximum customization.
Consider the pros and cons of each type of ADU kit based on factors such as construction time, customization options, and your own level of DIY skills and capabilities.
The Role of Local Building Codes and Regulations
Before finalizing your choice of ADU kit, it's crucial to familiarize yourself with the local building codes and regulations that apply to your property. Different areas may have specific requirements regarding setback distances, maximum allowable square footage, height restrictions, parking requirements, and more. Contact your local building department or consult with a professional to ensure that your chosen ADU kit complies with all relevant regulations.
By considering your needs, comparing different types of ADU kits, and understanding local building codes, you can make an informed decision when choosing the right ADU kit for your property. In the next section, we will walk you through the process of assembling an ADU kit, from preparation and planning to dealing with potential challenges.
The Process of Assembling an ADU Kit

Assembling an ADU kit is an exciting and rewarding process that allows you to bring your secondary dwelling unit to life. While each ADU kit may have its specific instructions, there are general steps and considerations that apply to most kits. In this section, we will guide you through the process of assembling an ADU kit, from preparation and planning to dealing with potential challenges.
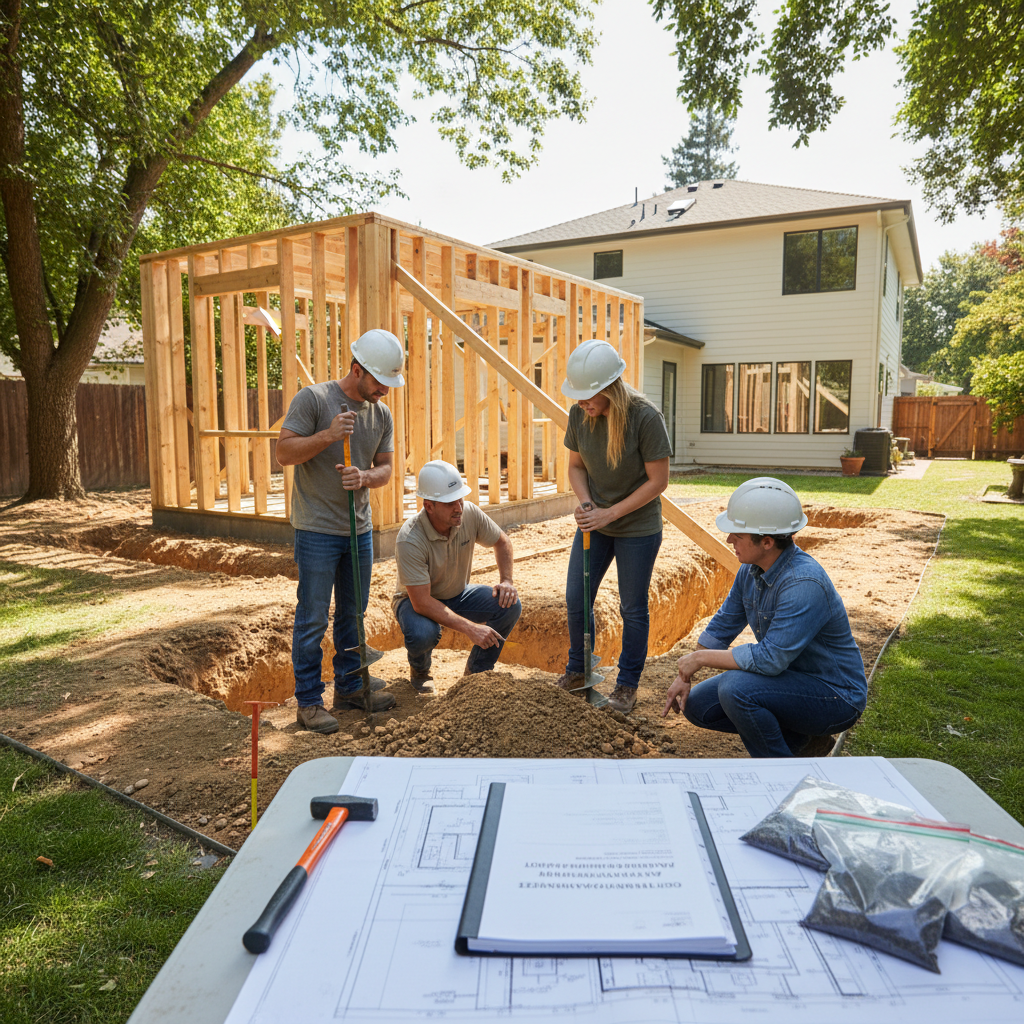
Preparation and Planning
1. Site Preparation: Before starting the assembly process, ensure that the site where the ADU will be installed is properly prepared. Clear any vegetation or debris, level the ground, and ensure proper drainage.
2. Foundation and Utilities: Determine the type of foundation required for your ADU kit, whether it's a concrete slab, crawl space, or foundation piers. Additionally, consider the utility connections such as water, electricity, and sewer or septic lines.
3. Permits and Inspections: Check with your local building department to obtain any necessary permits for the construction of your ADU. Additionally, schedule inspections at appropriate stages of the assembly process to ensure compliance with building codes.
4. Gather Tools and Equipment: Review the kit instructions and make a list of the tools and equipment needed for the assembly process. Ensure you have all the necessary tools on hand before starting.
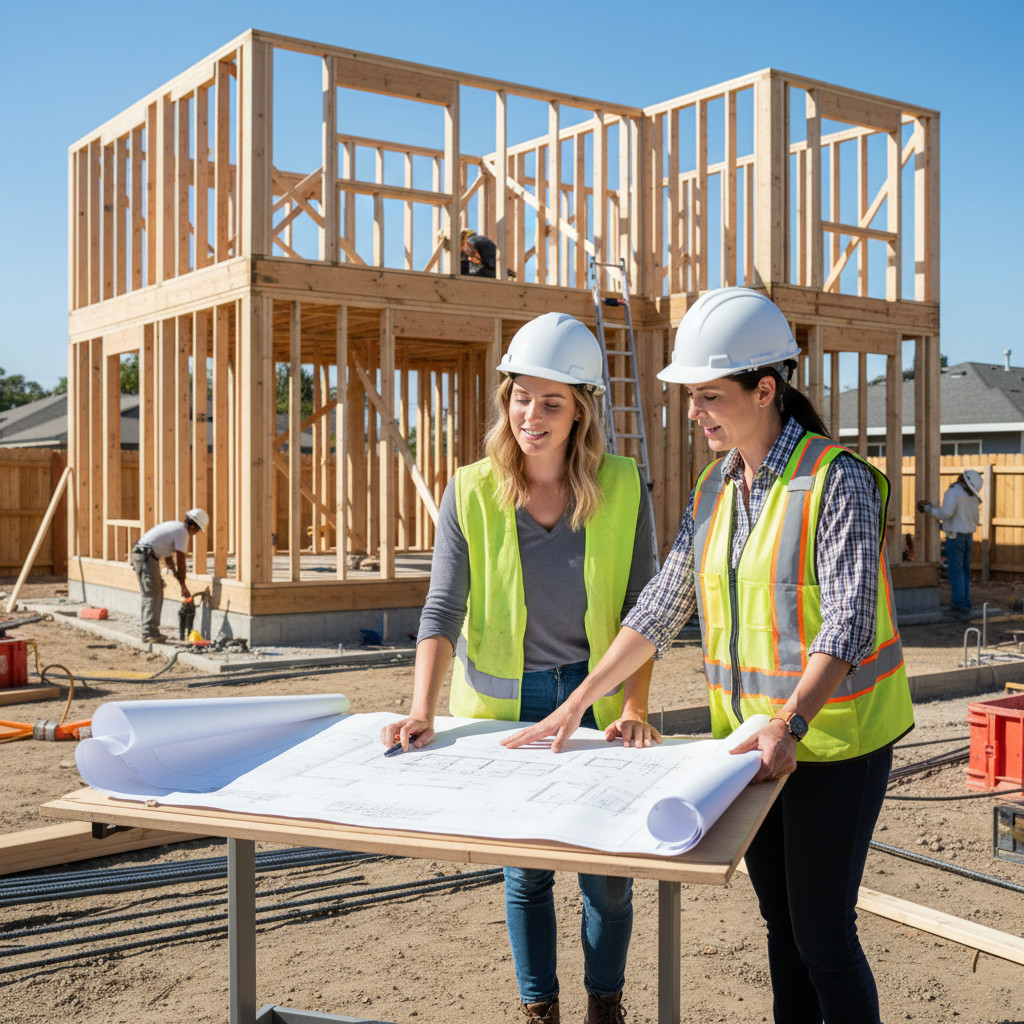
Step-by-Step Assembly Instructions
1. Review the Instructions: Carefully read through the assembly instructions provided with your ADU kit. Familiarize yourself with the steps, diagrams, and any specific requirements.
2. Organize and Sort Materials: Lay out all the materials and components included in the kit. Sort them according to the assembly steps to ensure easy access and efficient workflow.
3. Follow the Sequence: Follow the assembly steps in the provided instructions, starting from the foundation and working your way up. Pay attention to details such as proper alignment, leveling, and secure fastening.
4. Seek Assistance if Needed: Some steps of assembly may require additional hands or specialized skills. Don't hesitate to seek assistance from friends, family, or professionals if necessary.
5. Maintain Quality Control: Regularly inspect your progress to ensure that each step is completed accurately and to a high standard. Address any issues or discrepancies promptly.
Dealing with Potential Challenges and Issues
1. Weather Conditions: Be mindful of weather conditions during the assembly process. Take necessary precautions to protect materials and ensure worker safety.
2. Communication with Suppliers: Maintain open lines of communication with the ADU kit supplier. Seek clarification or assistance if you encounter any challenges or have questions during the assembly process.
3. Problem-Solving: If you encounter any unexpected challenges or issues during assembly, take a step back and assess the situation. Consult the instructions, seek guidance online or from professionals, and find the best solution.
By following these steps and guidelines, you can successfully assemble your ADU kit and bring your secondary dwelling unit to life. In the next section, we will explore the maintenance and upkeep of your ADU, ensuring its longevity and functionality over time.
Maintenance and Upkeep of Your ADU
Once your ADU is assembled and ready to use, it's important to prioritize its maintenance and upkeep to ensure its longevity and functionality over time. Regular inspection, repairs, and preventive measures are key to preserving the quality and value of your ADU. In this section, we will explore the essential aspects of maintaining and caring for your ADU.
Regular Inspection and Repairs
1. Structural Integrity: Conduct regular inspections of the ADU's structure, including the foundation, walls, roof, and flooring. Look for signs of damage, such as cracks, leaks, or sagging, and address them promptly.
2. Plumbing and Electrical Systems: Inspect the plumbing and electrical systems for any leaks, malfunctions, or hazards. Check faucets, toilets, pipes, outlets, and switches to ensure they are in proper working condition.
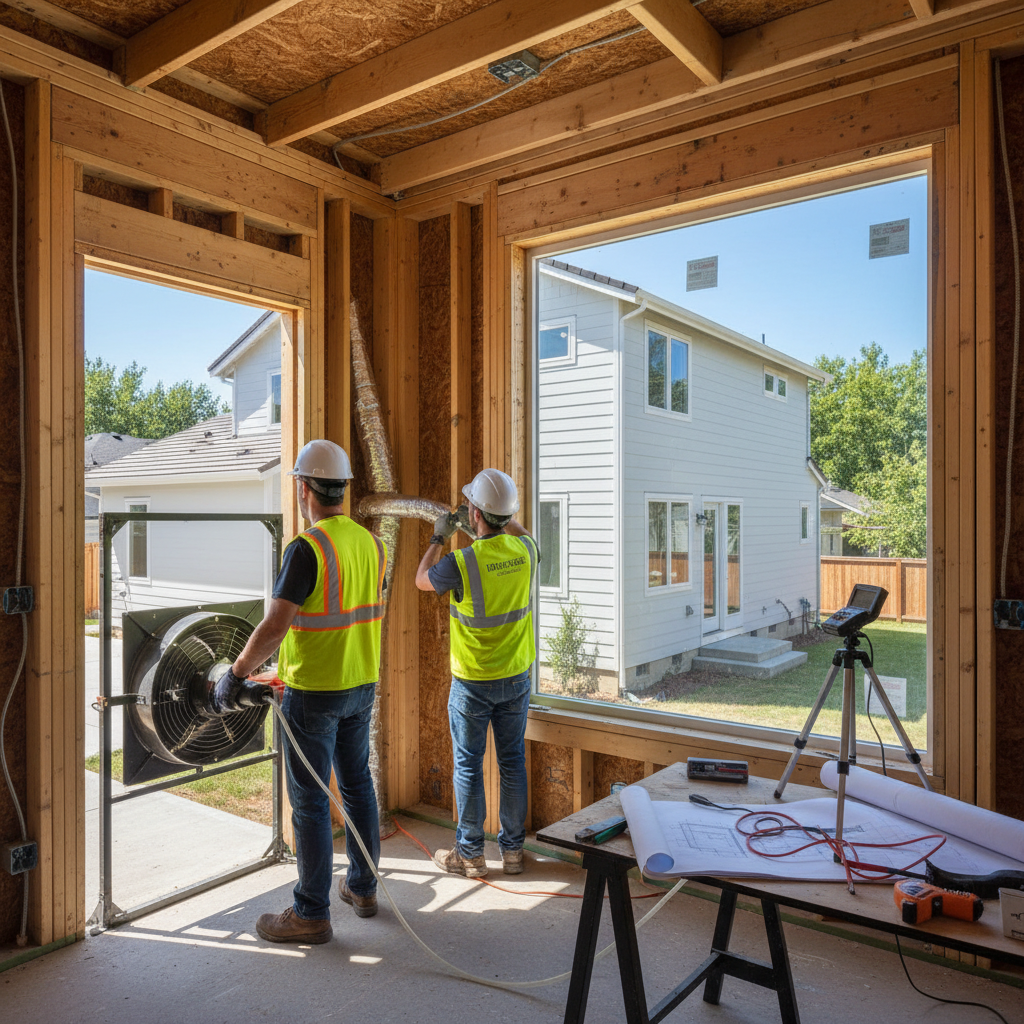
3. Doors and Windows: Check the condition of doors and windows, including hinges, locks, and weather stripping. Repair or replace any damaged components to maintain security and energy efficiency.
4. HVAC Systems: If your ADU is equipped with heating, ventilation, and air conditioning (HVAC) systems, have them inspected and serviced regularly to ensure optimal performance and energy efficiency.
Preventing Weather Damage
1. Roof Maintenance: Regularly inspect the roof for any signs of damage, such as missing shingles or leaks. Clean gutters and downspouts to ensure proper water drainage.
2. Exterior Maintenance: Keep the exterior of your ADU well-maintained by regularly cleaning and repainting as needed. Check for any cracks or gaps in the siding or foundation and address them promptly.
3. Proper Drainage: Ensure that the area around your ADU has proper drainage to prevent water accumulation and potential damage. Redirect downspouts away from the foundation and ensure the grading slopes away from the structure.
4. Seasonal Preparations: Take necessary precautions to protect your ADU during extreme weather conditions. Install storm shutters, seal windows and doors, and prepare the HVAC system accordingly.
Best Practices for Long-Term Maintenance
1. Regular Cleaning: Keep your ADU clean and free from debris, both inside and out. Regularly sweep, vacuum, and mop floors, wipe down surfaces, and clean windows to maintain a healthy and pleasant living environment.
2. Pest Control: Implement preventive measures to keep pests at bay. Seal any openings or cracks where pests can enter, and consider professional pest control services if necessary.
3. Landscaping and Yard Maintenance: Maintain the landscaping around your ADU to enhance its curb appeal and prevent overgrowth that may lead to potential issues. Regularly trim trees and bushes, and keep the yard well-maintained.
4. Safety Measures: Install and regularly test smoke detectors, carbon monoxide detectors, and fire extinguishers in your ADU. Ensure that all safety measures are up to date and functioning properly.
By following these maintenance practices, you can ensure the longevity, safety, and functionality of your ADU. In the next section, we will discuss the cost considerations associated with ADU kits, including initial purchase and assembly costs, ongoing maintenance expenses, and the potential value added to your property.
Cost Considerations of ADU Kits

When considering the addition of an ADU to your property, it's essential to evaluate the cost implications involved. ADU kits offer a cost-effective alternative to traditional construction methods, but it's important to understand the various expenses associated with them. In this section, we will explore the cost considerations of ADU kits, including initial purchase and assembly costs, ongoing maintenance expenses, and the potential value added to your property.
Initial Purchase and Assembly Costs
1. ADU Kit Price: The cost of an ADU kit can vary depending on factors such as size, design, materials, and included features. Research different suppliers and compare prices to find a kit that fits your budget. Consider additional costs for customization, if required.
2. Site Preparation: Before assembling the ADU kit, there may be costs associated with site preparation, such as clearing, leveling, and utility connections. These costs can vary depending on the condition of your property and local requirements.
3. Assembly Labor: If you opt for professional assistance in assembling the ADU kit, labor costs will need to be factored into your budget. Alternatively, if you choose to assemble the kit yourself, there may be time and effort costs involved.
4. Permits and Inspections: Depending on your location, there may be fees associated with obtaining permits for the construction of your ADU. Additionally, some jurisdictions require inspections at different stages of the assembly process, which may involve additional costs.
Ongoing Maintenance Costs
1. Regular Maintenance: Budget for ongoing maintenance expenses such as cleaning, repairs, and replacements. This includes items like painting, roof maintenance, HVAC servicing, plumbing repairs, and general upkeep.
2. Utilities: Consider the additional utility costs associated with the ADU, including electricity, water, gas, and sewer/septic. These costs will vary depending on the size of the ADU, the number of occupants, and their usage patterns.
3. Insurance: Consult with your insurance provider to determine if your existing homeowner's insurance covers the ADU or if additional coverage is required. This may result in an increase in insurance premiums.
Potential Value Added to Your Property
1. Rental Income: One of the significant advantages of having an ADU is the potential to generate rental income. Consider the rental rates in your area and estimate the income you could receive from renting out the ADU. This can help offset the initial costs and ongoing expenses.
2. Property Value Appreciation: Adding an ADU to your property can potentially increase its overall value. This can be advantageous if you plan to sell your property in the future or use it as collateral for a loan.
3. Multigenerational Living: If the ADU is intended for accommodating family members, consider the savings and convenience it provides by having them nearby while maintaining privacy and independence.
By carefully considering the initial purchase and assembly costs, ongoing maintenance expenses, and the potential value added to your property, you can make an informed decision about whether an ADU kit is a financially viable option for your needs.